Via Rossi, IV, Civazes
With its proximity to the road, Civazes makes for an an incredible alpine rock playground, where you can climb virtually all year round. Dramatic views, mostly reasonable rock make this little big wall in ideal place to start your forays into longer rock routes. The Rossi, along with the Via della Rampa are the two easiest routes on the face, with the Rossi being a definite step up from la Rampa in terms of its difficulty and the exposure the climber experiences, although it is slightly shorter. It features a very sustained, long crux pitch and an exposed traverse near the top, just metres below the Cenga dei Camosci.
Approach
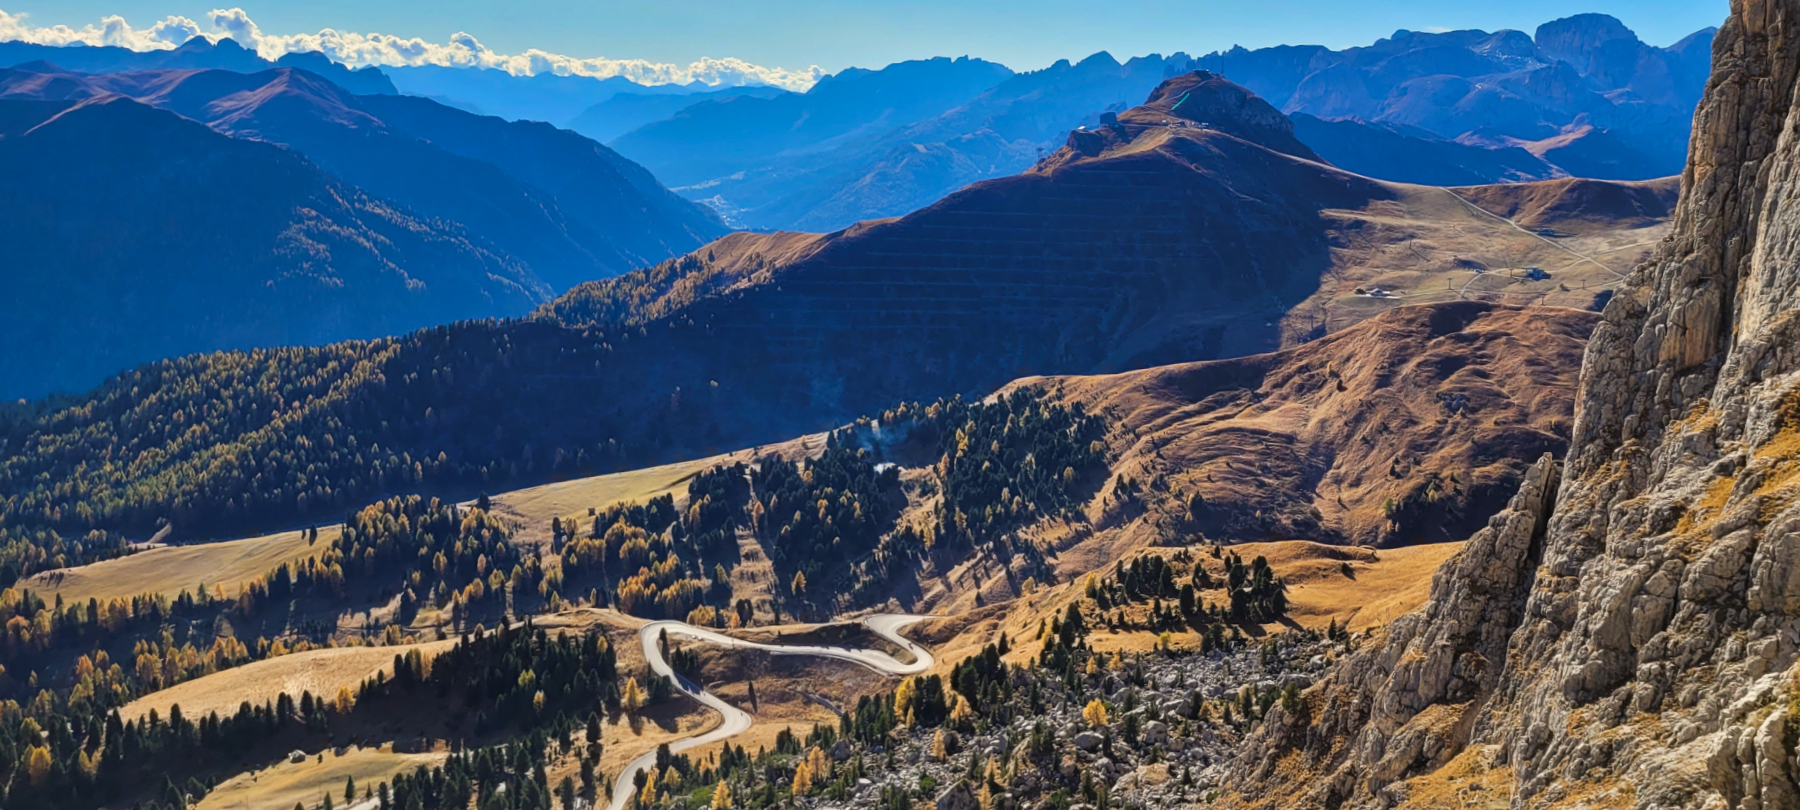
Drive along the road from Canazei to Sella Pass and you will pass beneath the very very obvious cliff of Ciavazes, facing due south. The road at one point passes a matter of 150m from the base of the cliff. Here you will find numerous parking spots with glorious views over Val di Fassa. from the lef hand end of the layby, climb up and slightly left, within minutes you will find yourself on the screes below the cliff. Via Rossi starts at the base of a widening gully towards the left end of the face and is less shaded than la Rampa, with sun reaching the route at around 10.30 during late October. You can kit up at the base of the route.
What to take
As the route climbs mainly medium sized cracks, nuts in larger sizes are useful. Infact I carried a full set of rocks up to size 13 on a whim and they proved very useful. Sizes 0.4-1 Camalot were also useful, a few slings for belays and the odd flake, plus extenders, 50m double ropes and you are ready to go. As always, carry a waterproof, and if you will be returning along the terrace, approach shoes as the walk down is long and loose in places.
The Climb
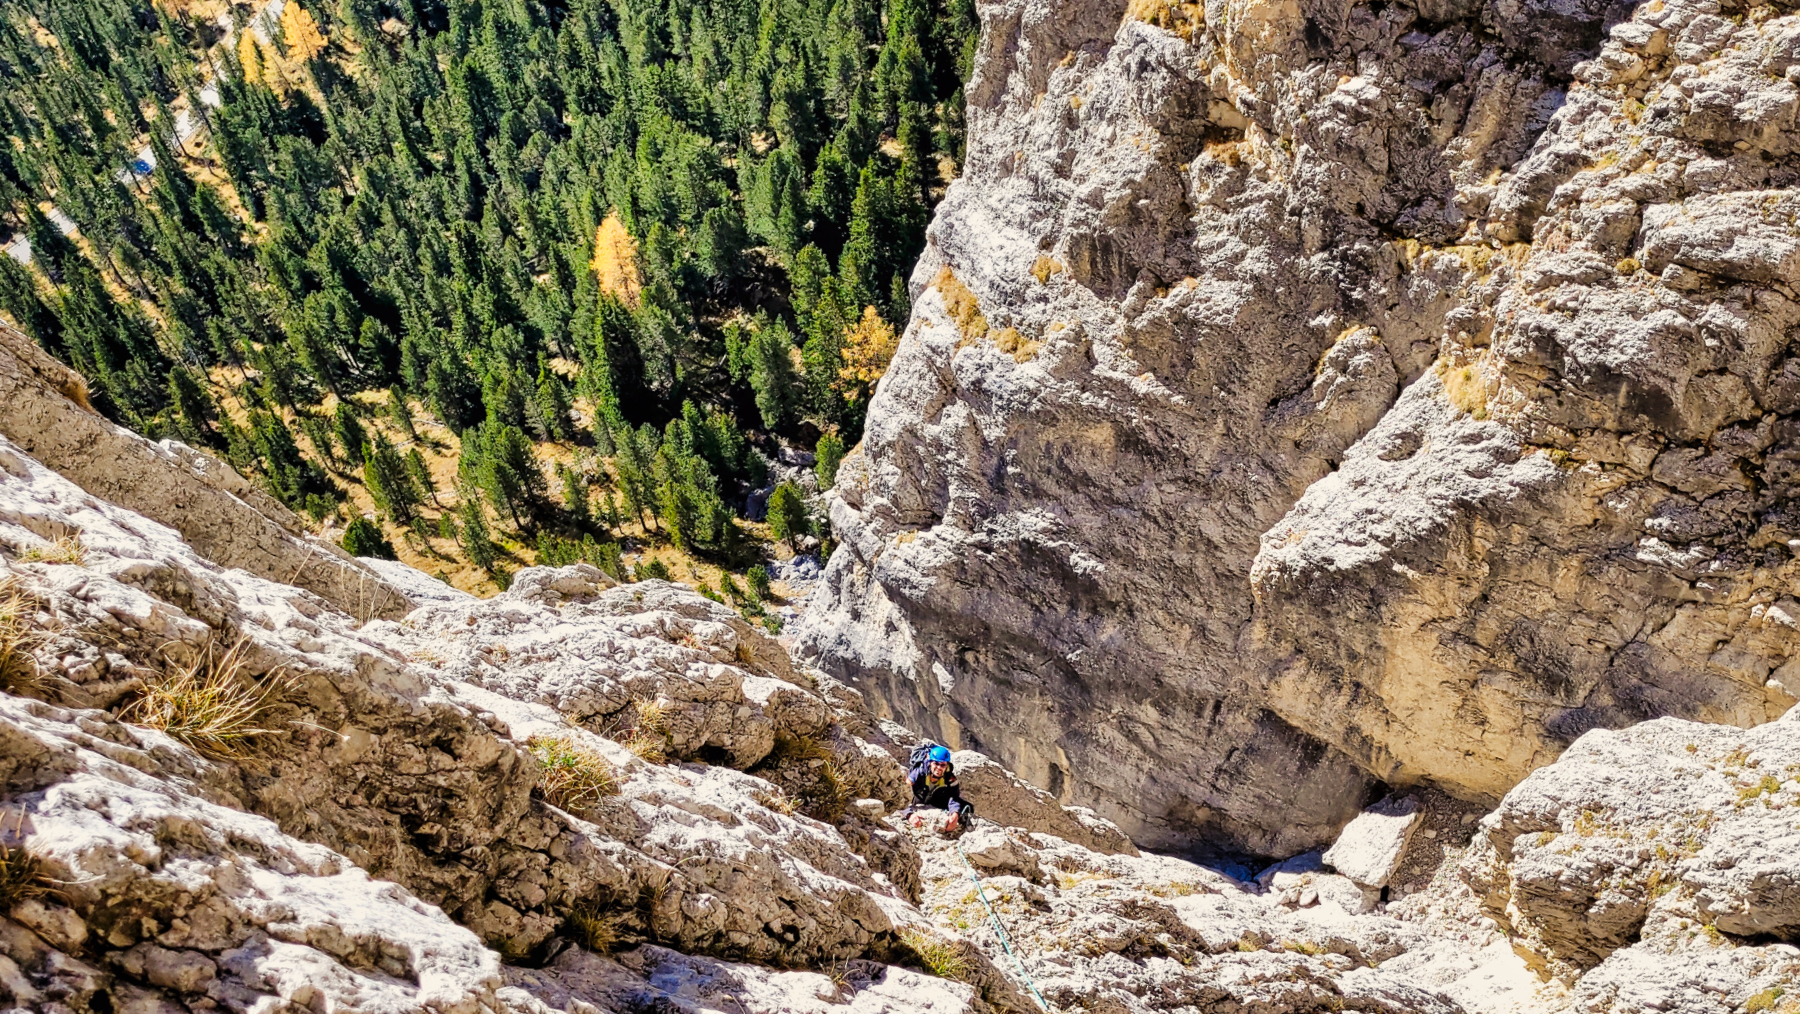
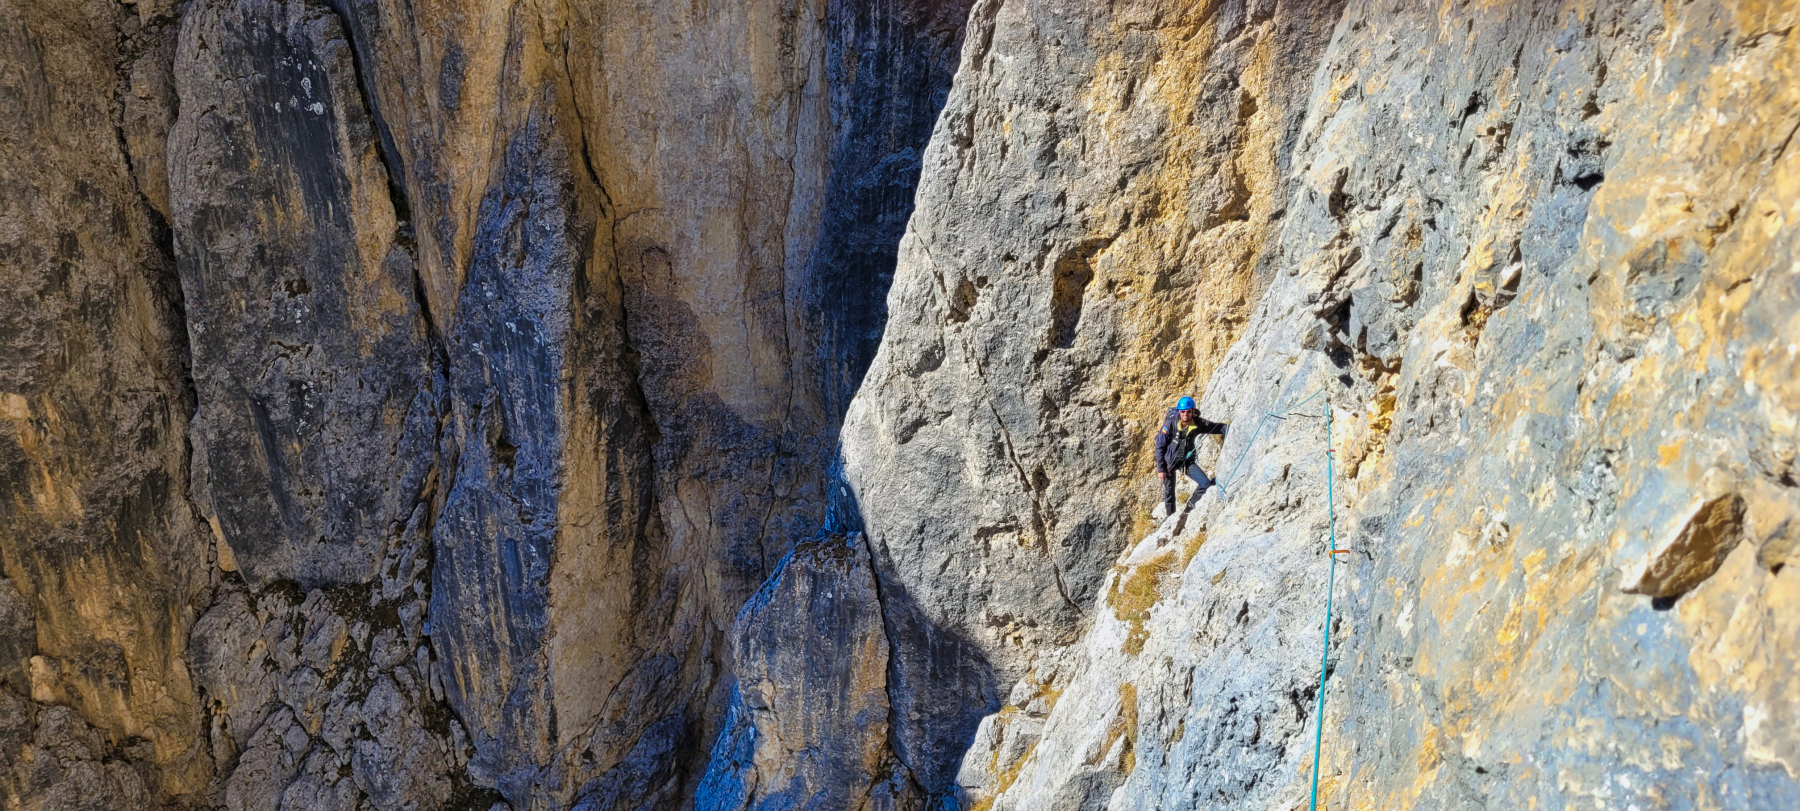
The Rossi starts up a corner but after a pitch climbs onto a slabby face which it follows for the rest of the route. The crux pitch is a long and sustained crack pitch of IV, although I would say it is at the upper end of the grade, with the hardest climbing just before the belay. After this, some good route finding is required, traversing left and then back right via an extremely exposed and in places delicate pitch to the base of an overhanging chimney crack, this being easier than it looks thankfully as at this point you are in really very exposed and steep terrain. It makes for some heart thumping moments. Because of this I would say it has better climbing than the Rampa, just make sure your second is as strong as you are.
- 35m III a wandering line up the back of the corner towards an opening in the gully. Mostly straight forward with a few harder moves. Ring belay on the right.
- 45m IV Make a few moves up to the right to gain the face and clmb up to an obvious left facing corner. Here climb a crack, never sustained but with the odd spicier move to gain a belay.
- 35m IV- Continue up the chimney crackline, stepping left to pass a steepening. Continue up the crack to a ledge or step left with slightly greater exposure and difficulty to gain the ledge. Now traverse more or less horizontally left to gain the base of a cracked slab and a belay.
- 40m IV- Climb the left most of the cracks via some nice climbing to gain a loose ledge. Trend leftwards into a niche and continue up to a ledge beneath a large roof.
- 40m IV The crux pitch. After stepping to the right to avoid the roof, follow the obvious cracks up the right facing corner. You gain an overhanging niche which you circumvent to the left with some difficulty and the respite of a ledge and the belay. Sustained.
- 20m IV Thankfully much easier, climb the short corner and then traverse leftwards across ledges before dropping down slightly into a corner. Unsustained.
- 40m IV The second crix of the route. Step rightwards, and then continue across a narrowing hanging slab, eventually reaching a hanging chimney crack and a belay. There are many fixed pieces on the traverse, and your second needs to be almost as strong as the leader. Exposure is extreme, and the climbing is no pushover.
- 30m IV The crack above is easier than it looks, but not THAT much. Struggle up through the slot to reach easier climbing after around 10m. Now follow the easing gully to the Cengia dei Camosci.
Descent
If necessary, abseil the route (for example in early season when snow may make returning along the terrace difficult) using the ring bolts, just be extremely careful as any rocks knocked off funnel directly down the line of the route – if anybody is climbing below you have a very high chance of hitting them. Or walk westward along the terrace along a small path. This leads somewhat circuitously towards the Sella Towers. Eventually you have to down climb and abseil back to easier ground and from there return to the base of the cliff.